How to Prepare Your Products for a Professional Product Photography Shoot.
If you’re launching a product or refreshing your brand imagery, product photography is one of the most important investments you can make.
Strong visuals help customers trust your brand instantly. They show the quality of what you’ve created, communicate your values and help people imagine your product in their lives.
But one of the questions founders often ask before a shoot is:
How do I actually prepare my products for a professional product photography shoot?
Whether you’re sending products to a photographer or planning a styled shoot for your brand, a little preparation goes a long way. Here are some simple things to think about before the camera comes out…
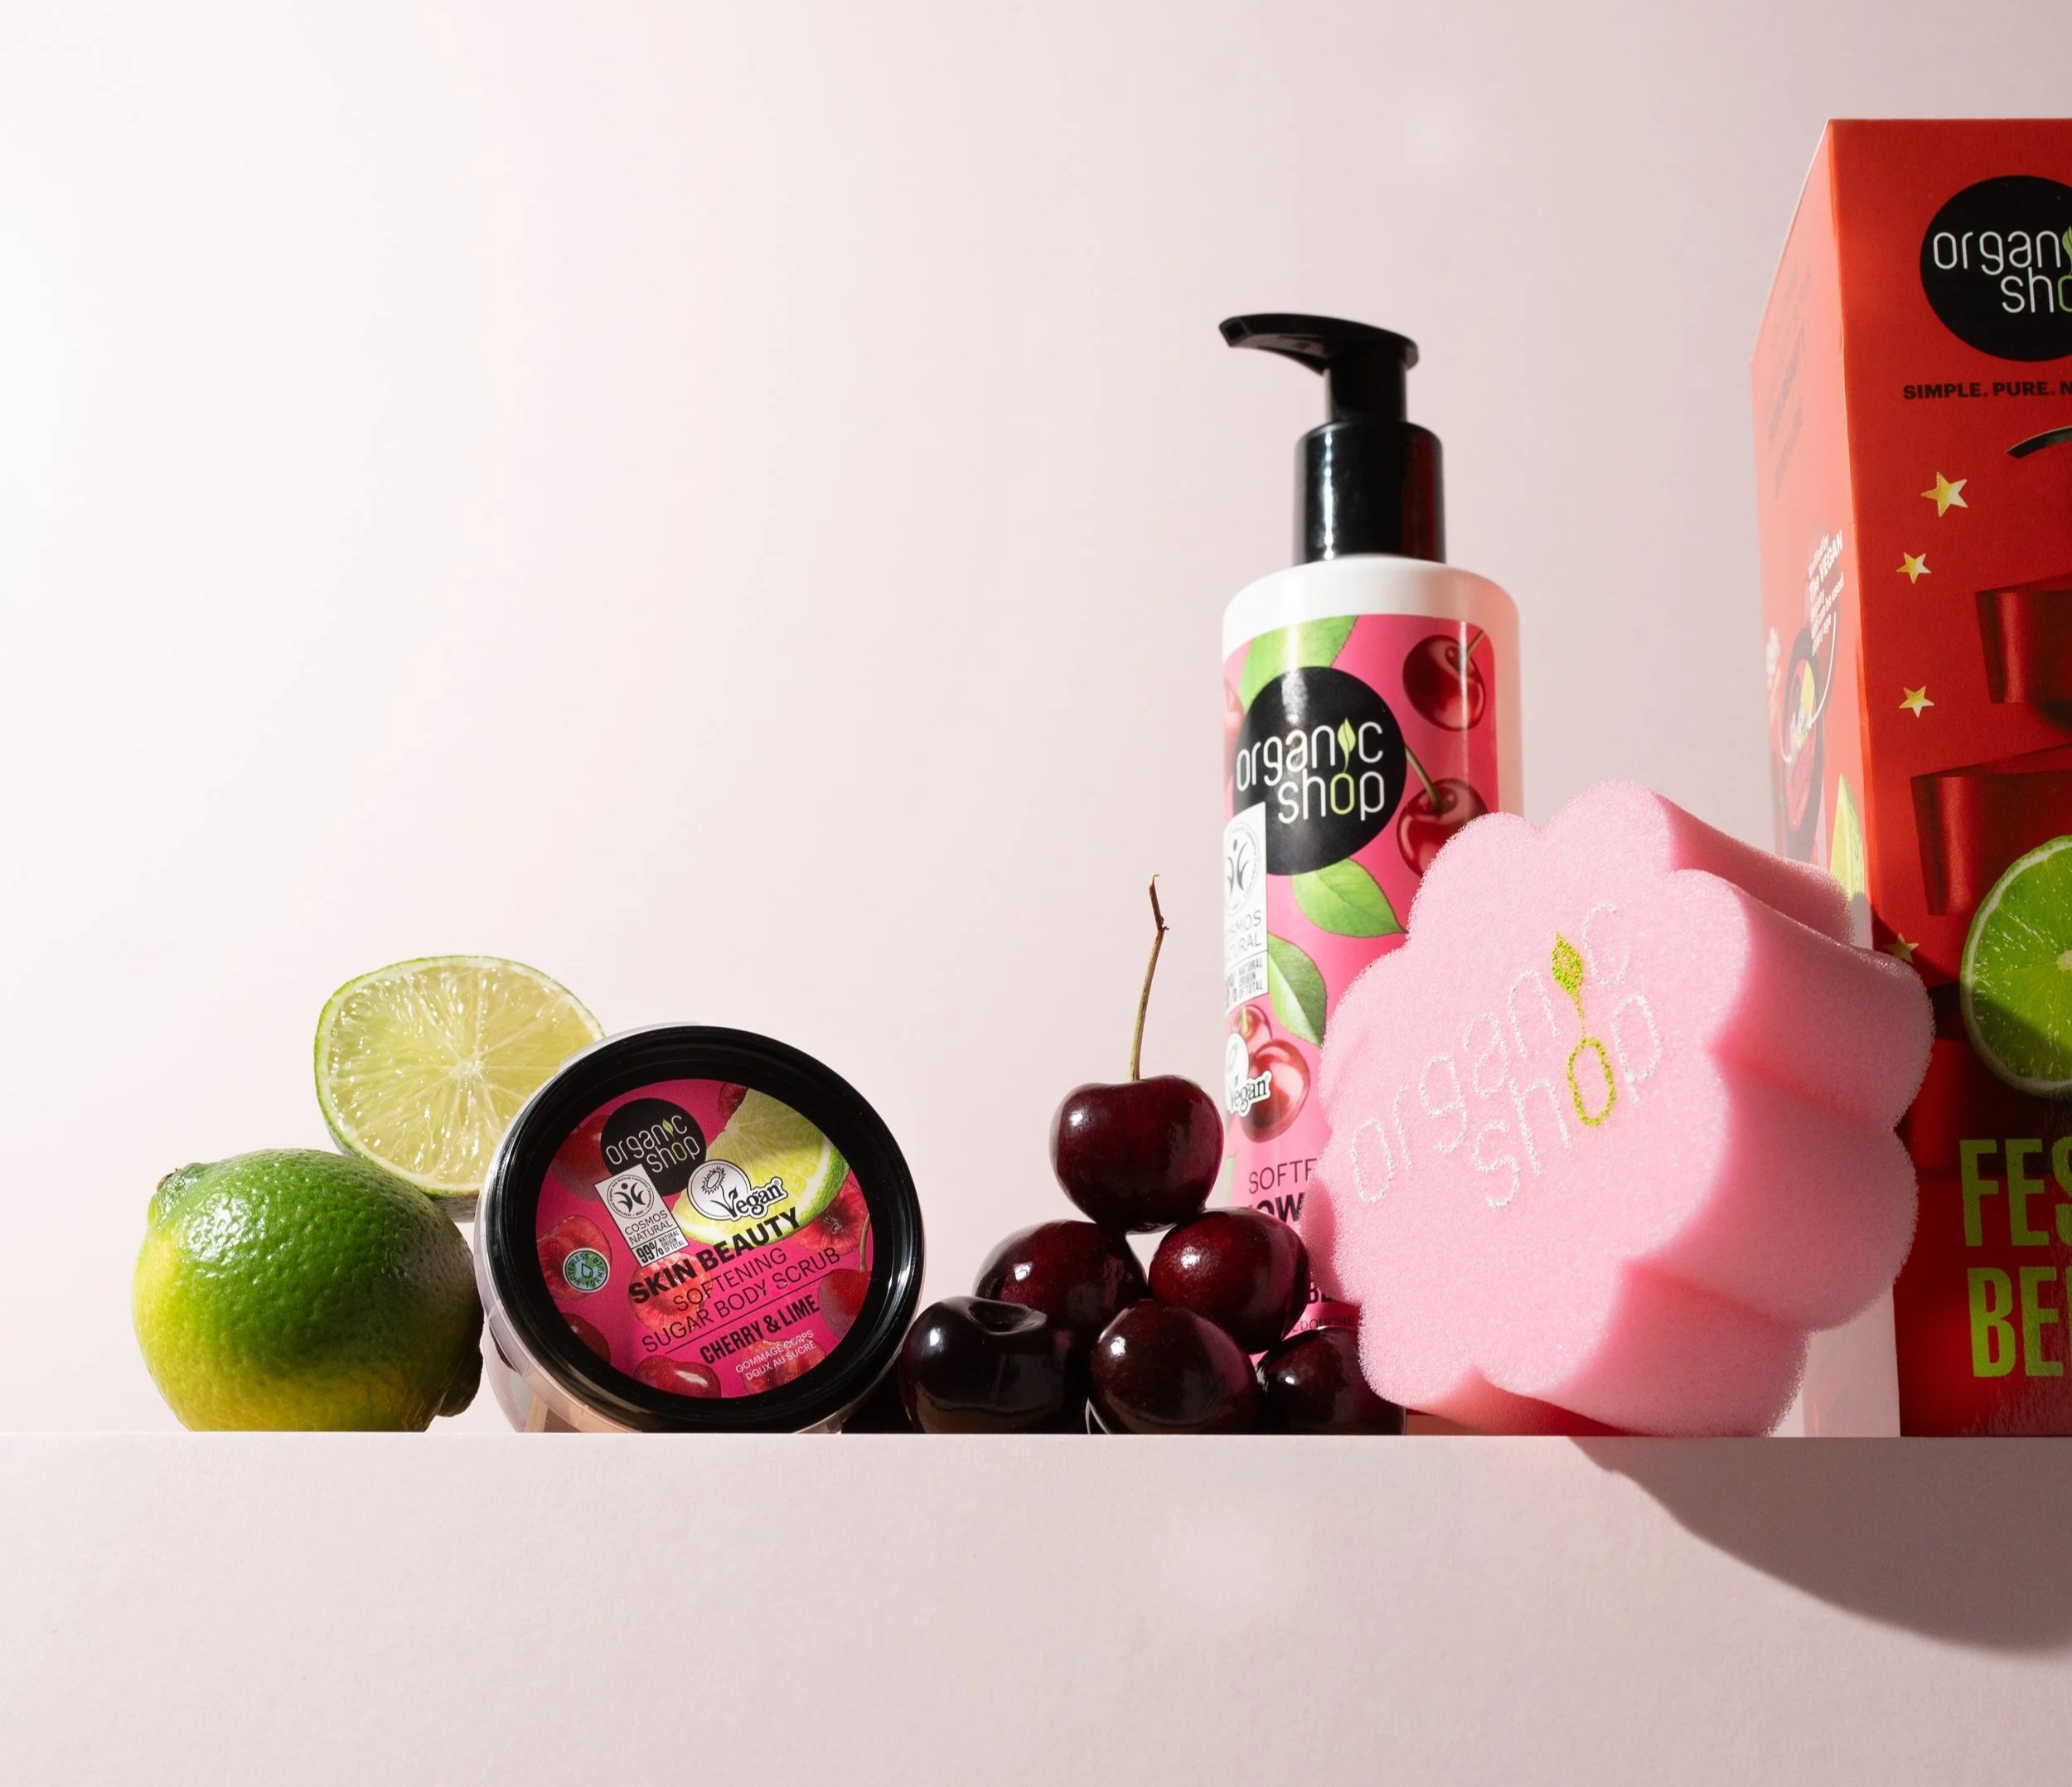
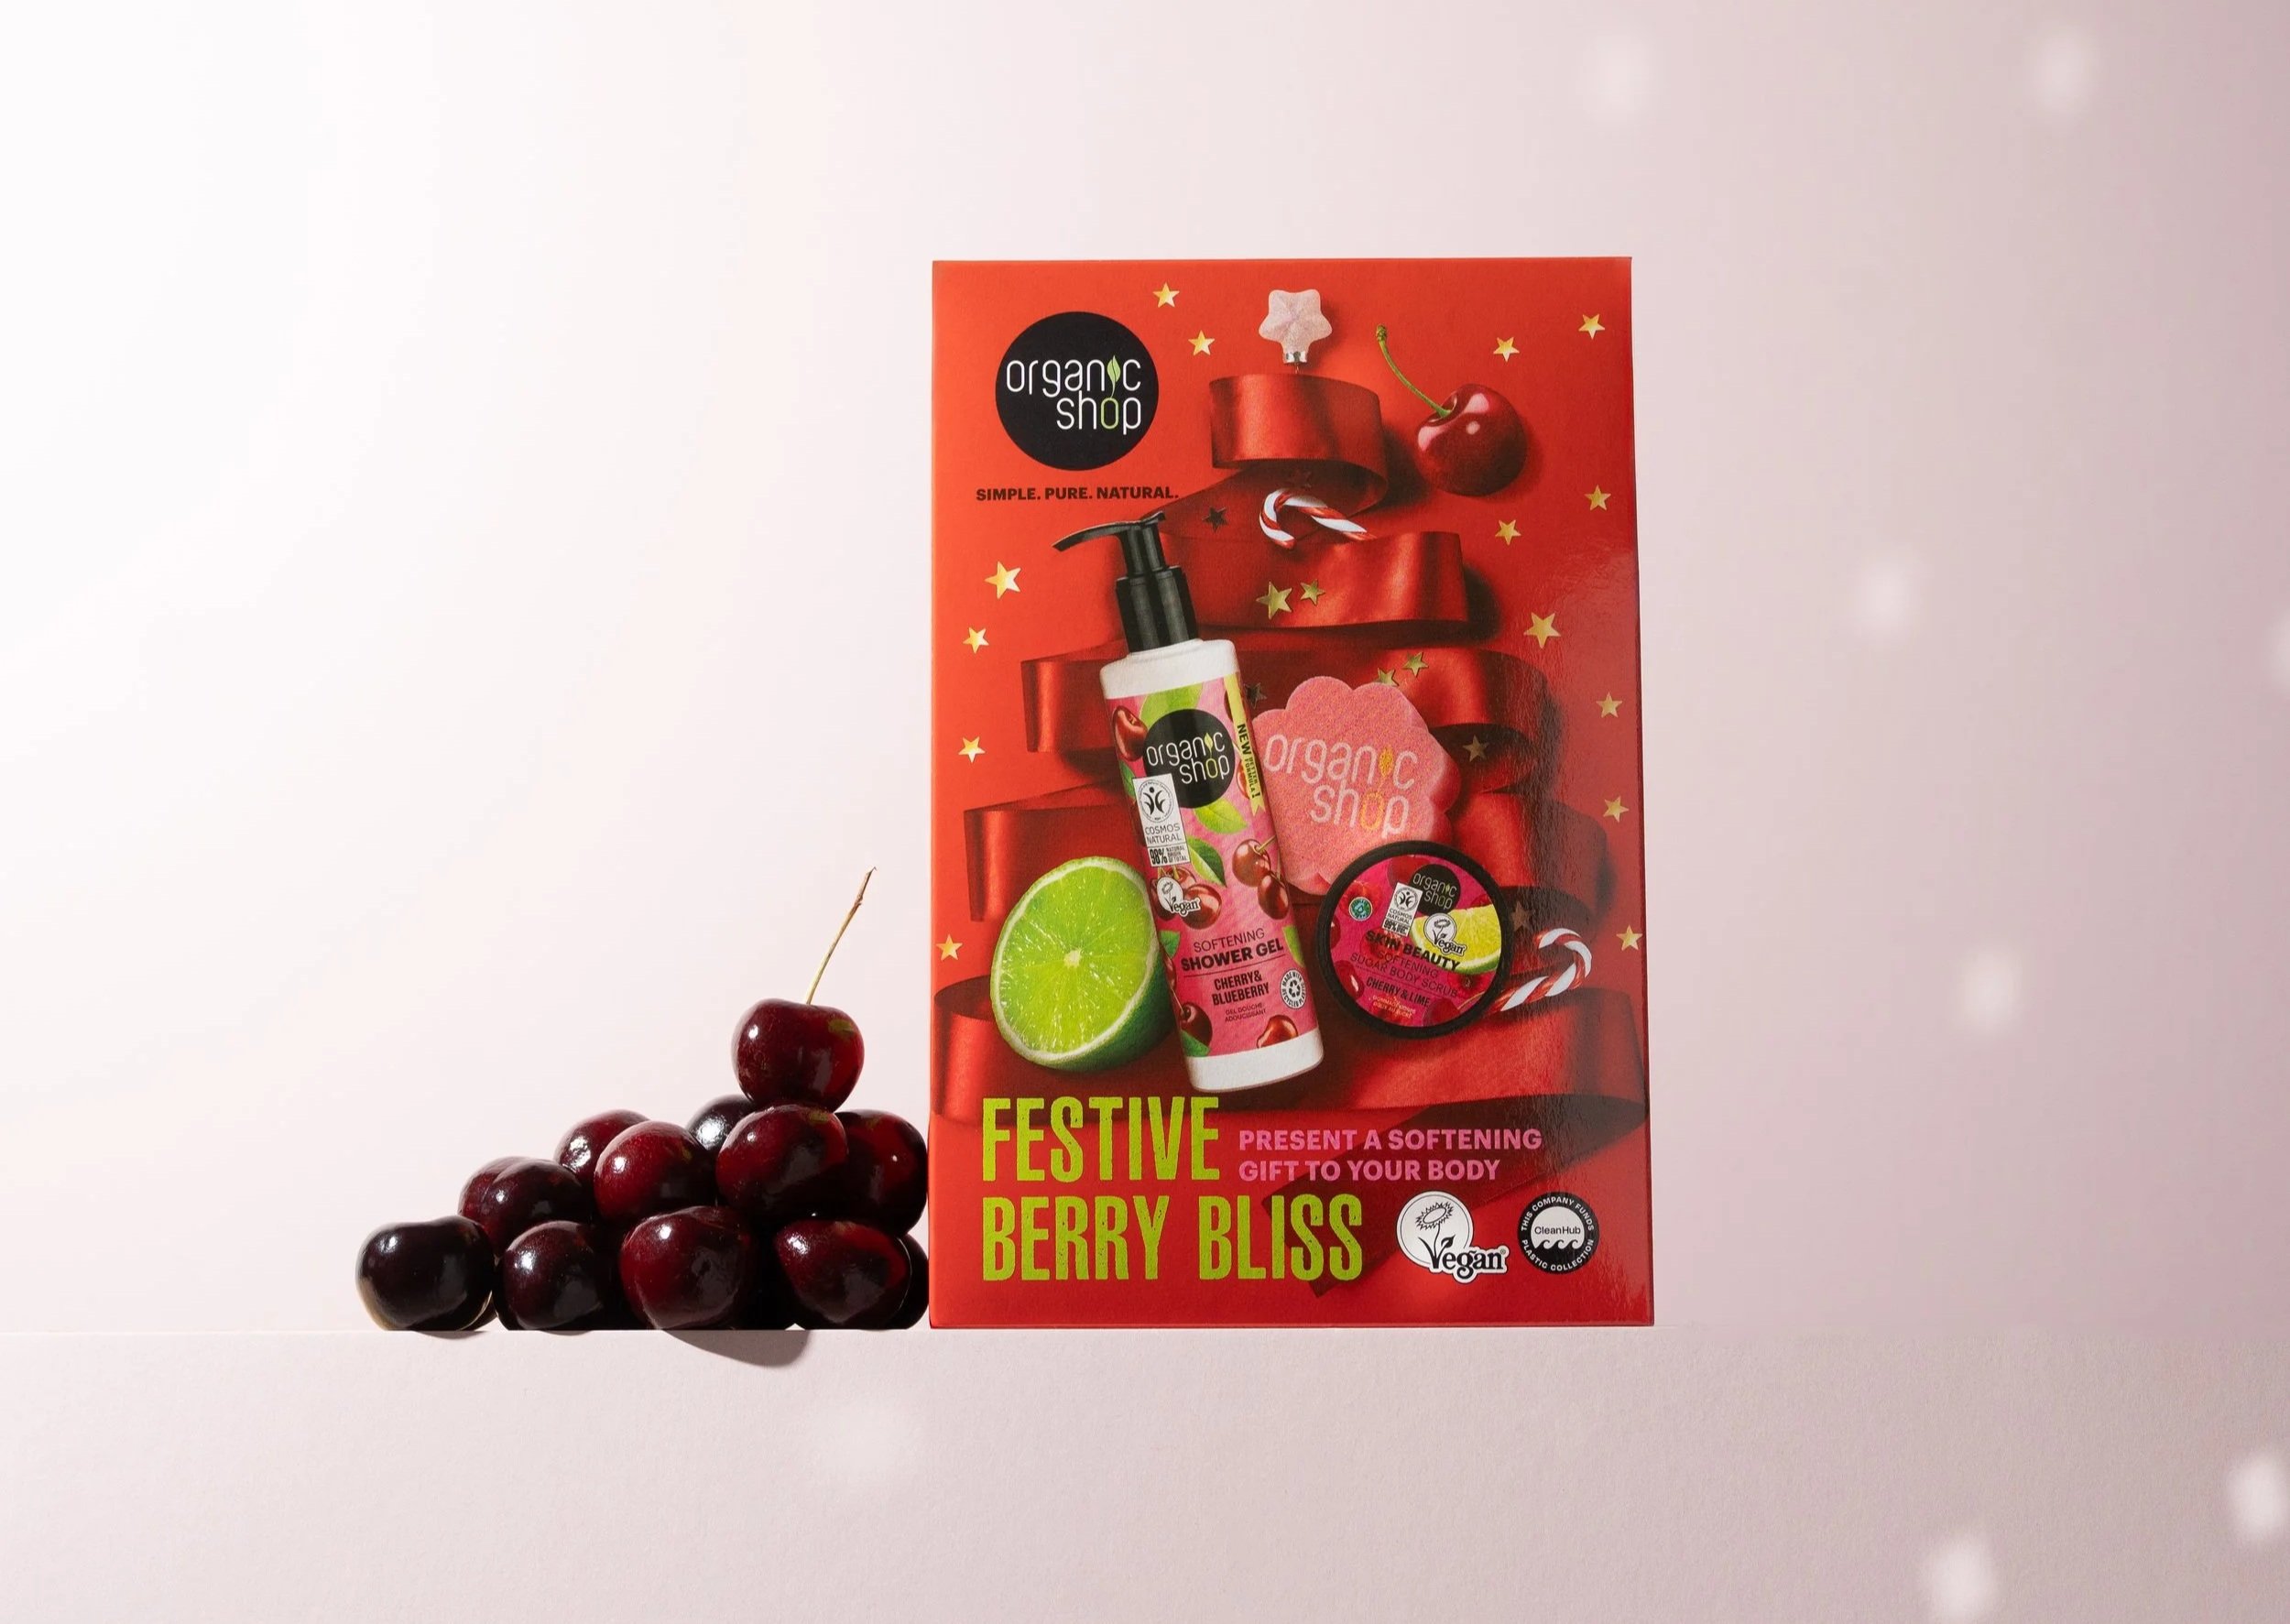
Organic Shop | Styled Gift Box Contents Shot.
1. Make Sure Your Products and Packaging Are Perfect
Product photography captures details very clearly, which means small imperfections can become noticeable.
Before sending products for photography, take a moment to check:
labels are straight and clean
packaging is free from dust or fingerprints
lids and seals are tidy
boxes or containers aren’t damaged
If your product comes in packaging, think about whether you want the product and packaging photographed together as well as separately.
Many brands use images like:
the product sitting next to its box
the box on its own for e-commerce listings
the product partially removed from the packaging
packaging featured within a styled scene
Because of this, it’s often helpful to send multiple versions of each item.
For example:
one box that remains sealed and pristine
one product that can be opened or used in lifestyle shots
This allows the photographer to show the full experience of your product, from packaging through to use.
Organic Shop | Styled Gift Box Shot.
2. Think About How Your Product Is Used
Your product is more than just an object, it exists within a lifestyle.
Before a shoot, think about how customers interact with it.
Ask yourself:
How is the product used in real life?
Does it belong on a desk, kitchen counter or bathroom shelf?
Should it be shown in someone’s hands?
Does it work best in a natural environment?
For example, a wellness supplement might be styled next to a morning coffee, natural ingredients or calming textures like linen and wood.
Images that show products in context help customers imagine the experience of using them.
3. Identify Your Product’s Key Selling Features
Every product has something that makes it special.
Before the shoot, think about the details you want customers to notice.
These could include:
texture or ingredients
unique packaging design
sustainable materials
craftsmanship
functionality or size
Close-up photography can highlight these features and help communicate the quality of your product.
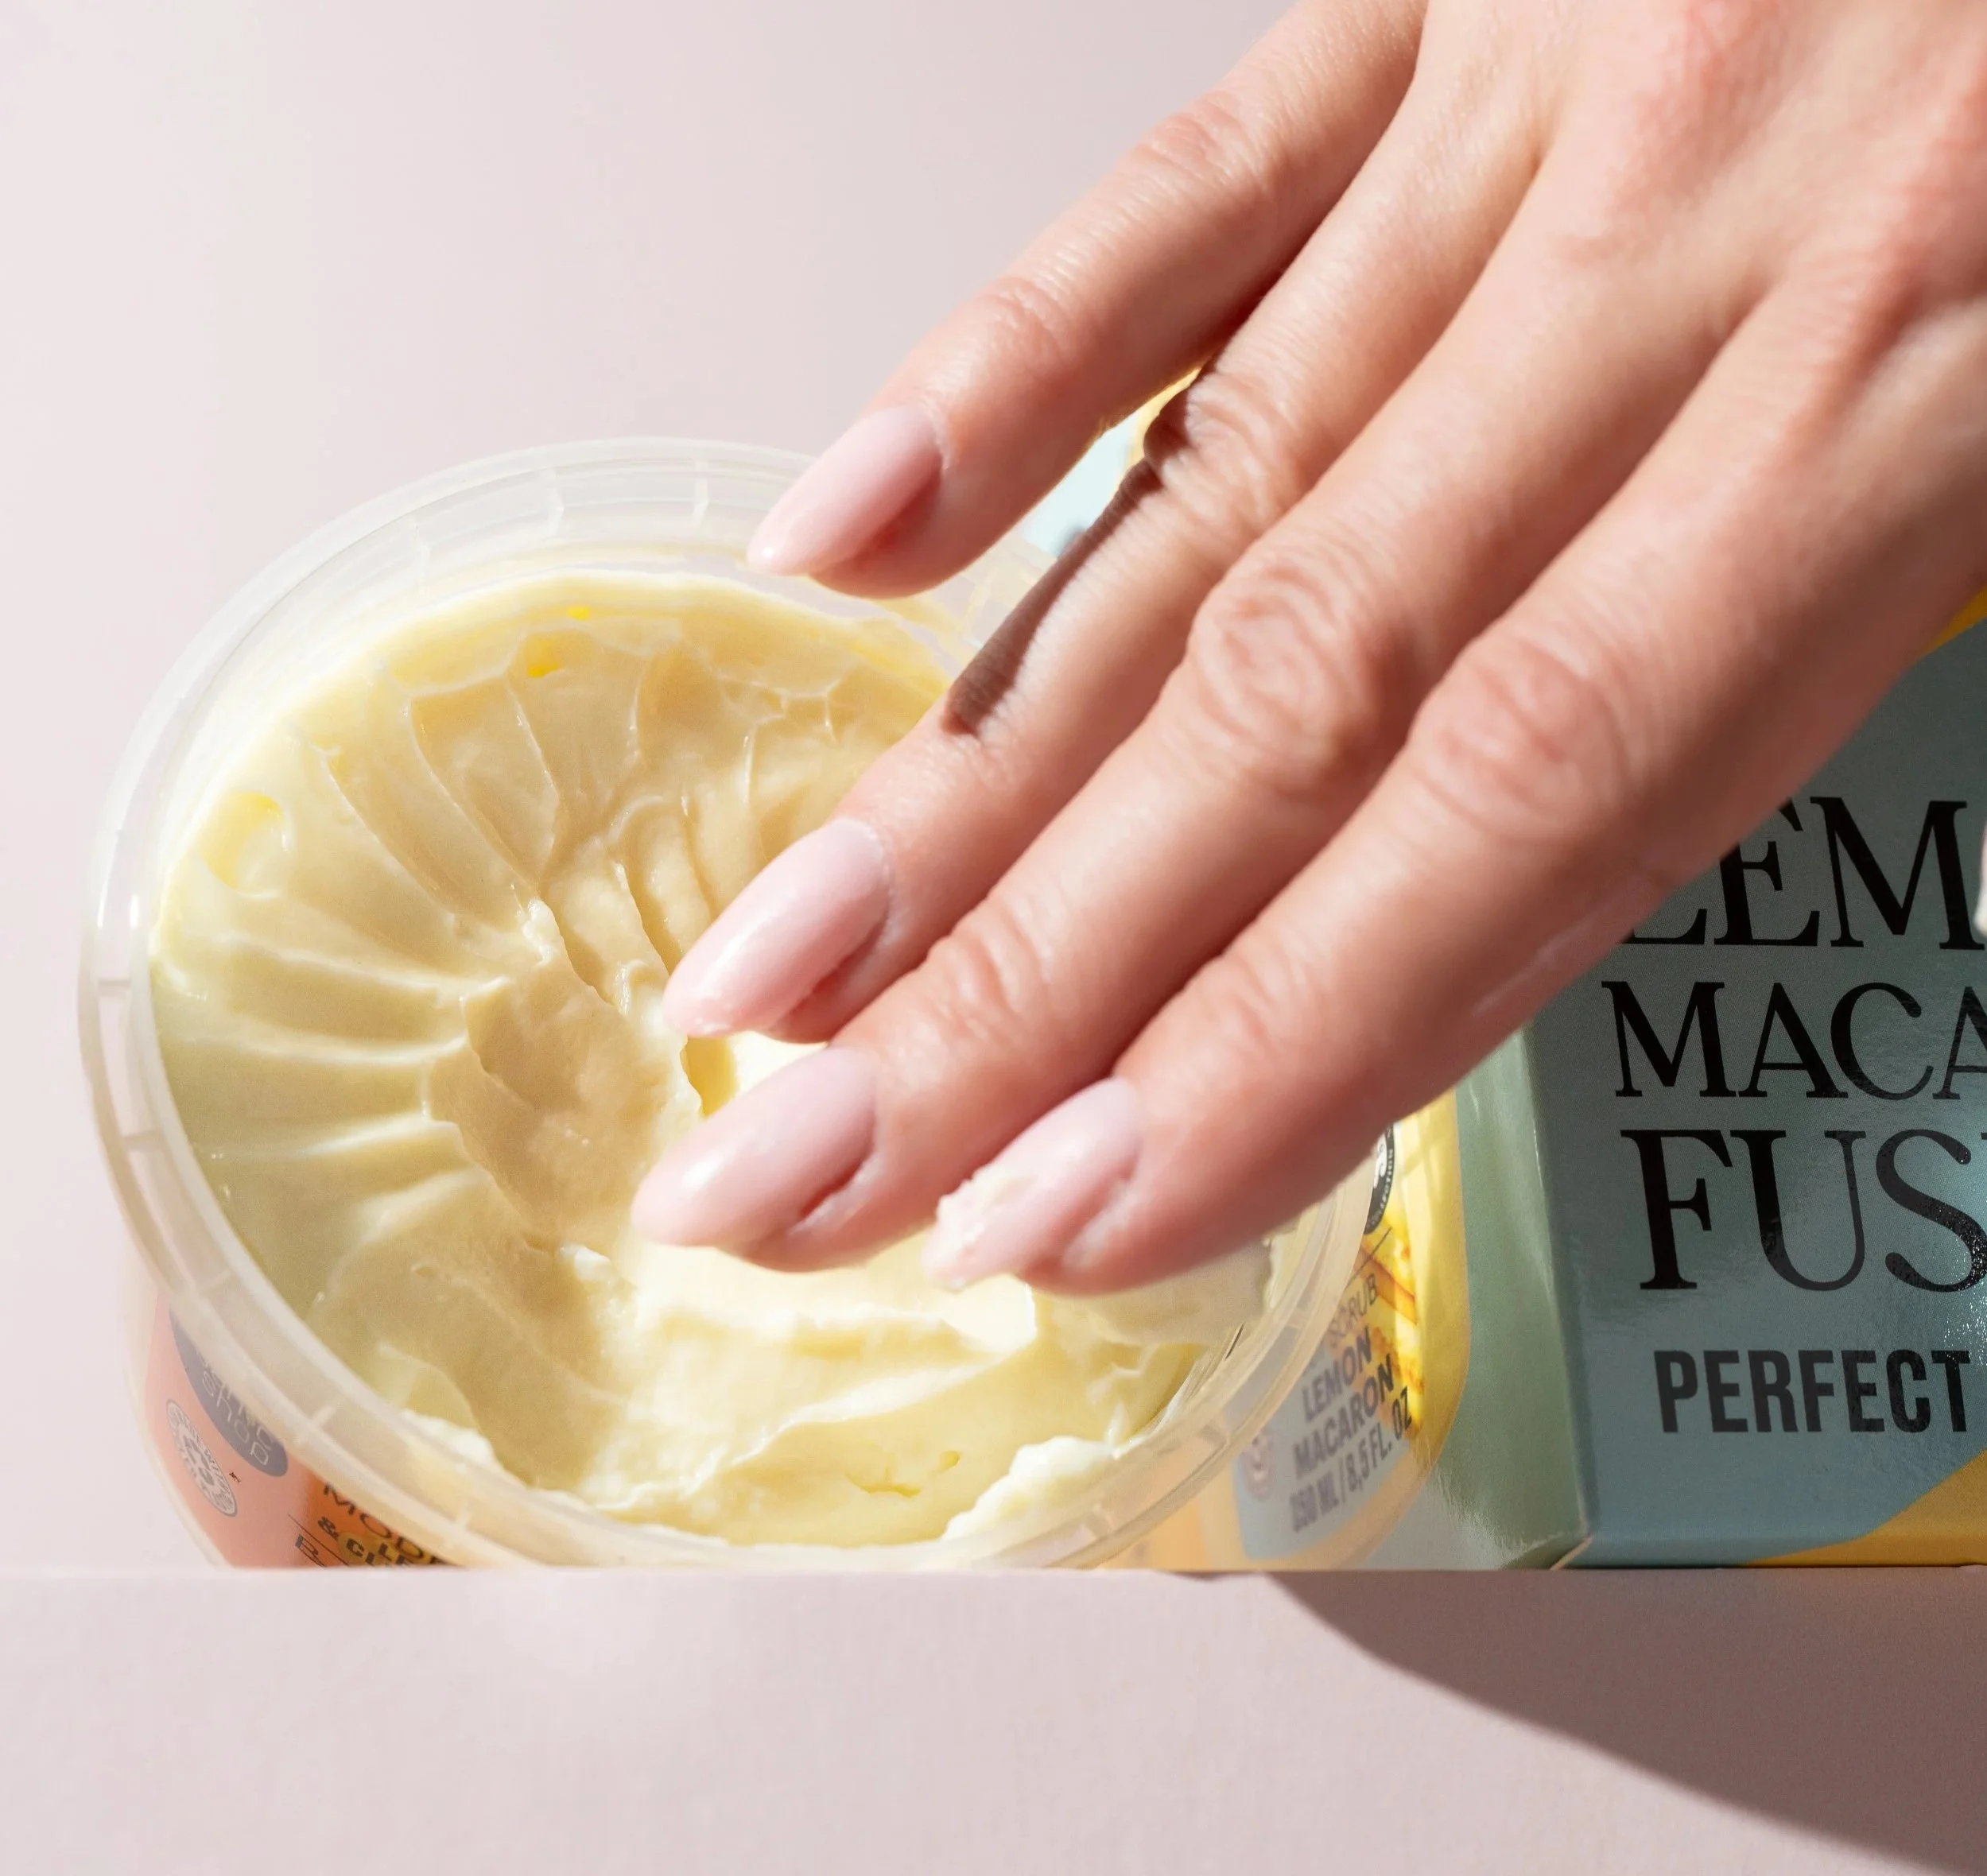
Organic Shop | Lifestyle Shot.
4. Consider Where the Images Will Be Used
One of the most common mistakes brands make is planning a shoot without thinking about how the images will actually be used.
Different platforms require different image formats.
For example, you may need:
square images for Instagram
vertical images for social media or Pinterest
banner images for your website homepage
product images for e-commerce listings
horizontal images for newsletters or marketing materials
Planning these in advance ensures the photography works across all the places your brand shows up.
Organic Shop | Styled Stop Motion.
5. Think About Group Shots and Product Collections
If you sell more than one product, it’s often useful to include group images.
These can show:
your full product range
complementary products together
bundles or gift sets
seasonal collections
These types of images are incredibly useful for website banners, promotions and marketing campaigns.
6. Create a Simple Shot List
Having a basic shot list before a shoot makes the process much smoother and ensures you leave with everything you need.
A typical product photography shot list might include:
hero product image
lifestyle scene
close-up detail shots
packaging image
product in use
group or collection image
banner-style images for websites
product next to packaging
packaging-only image for website listings
So the shot list section would include things like:
hero product image
lifestyle scene
packaging close-up
product next to packaging
product in use
group or collection image
banner-style images for websites
Even a simple plan like this can make a huge difference to how organised and effective the shoot feels.
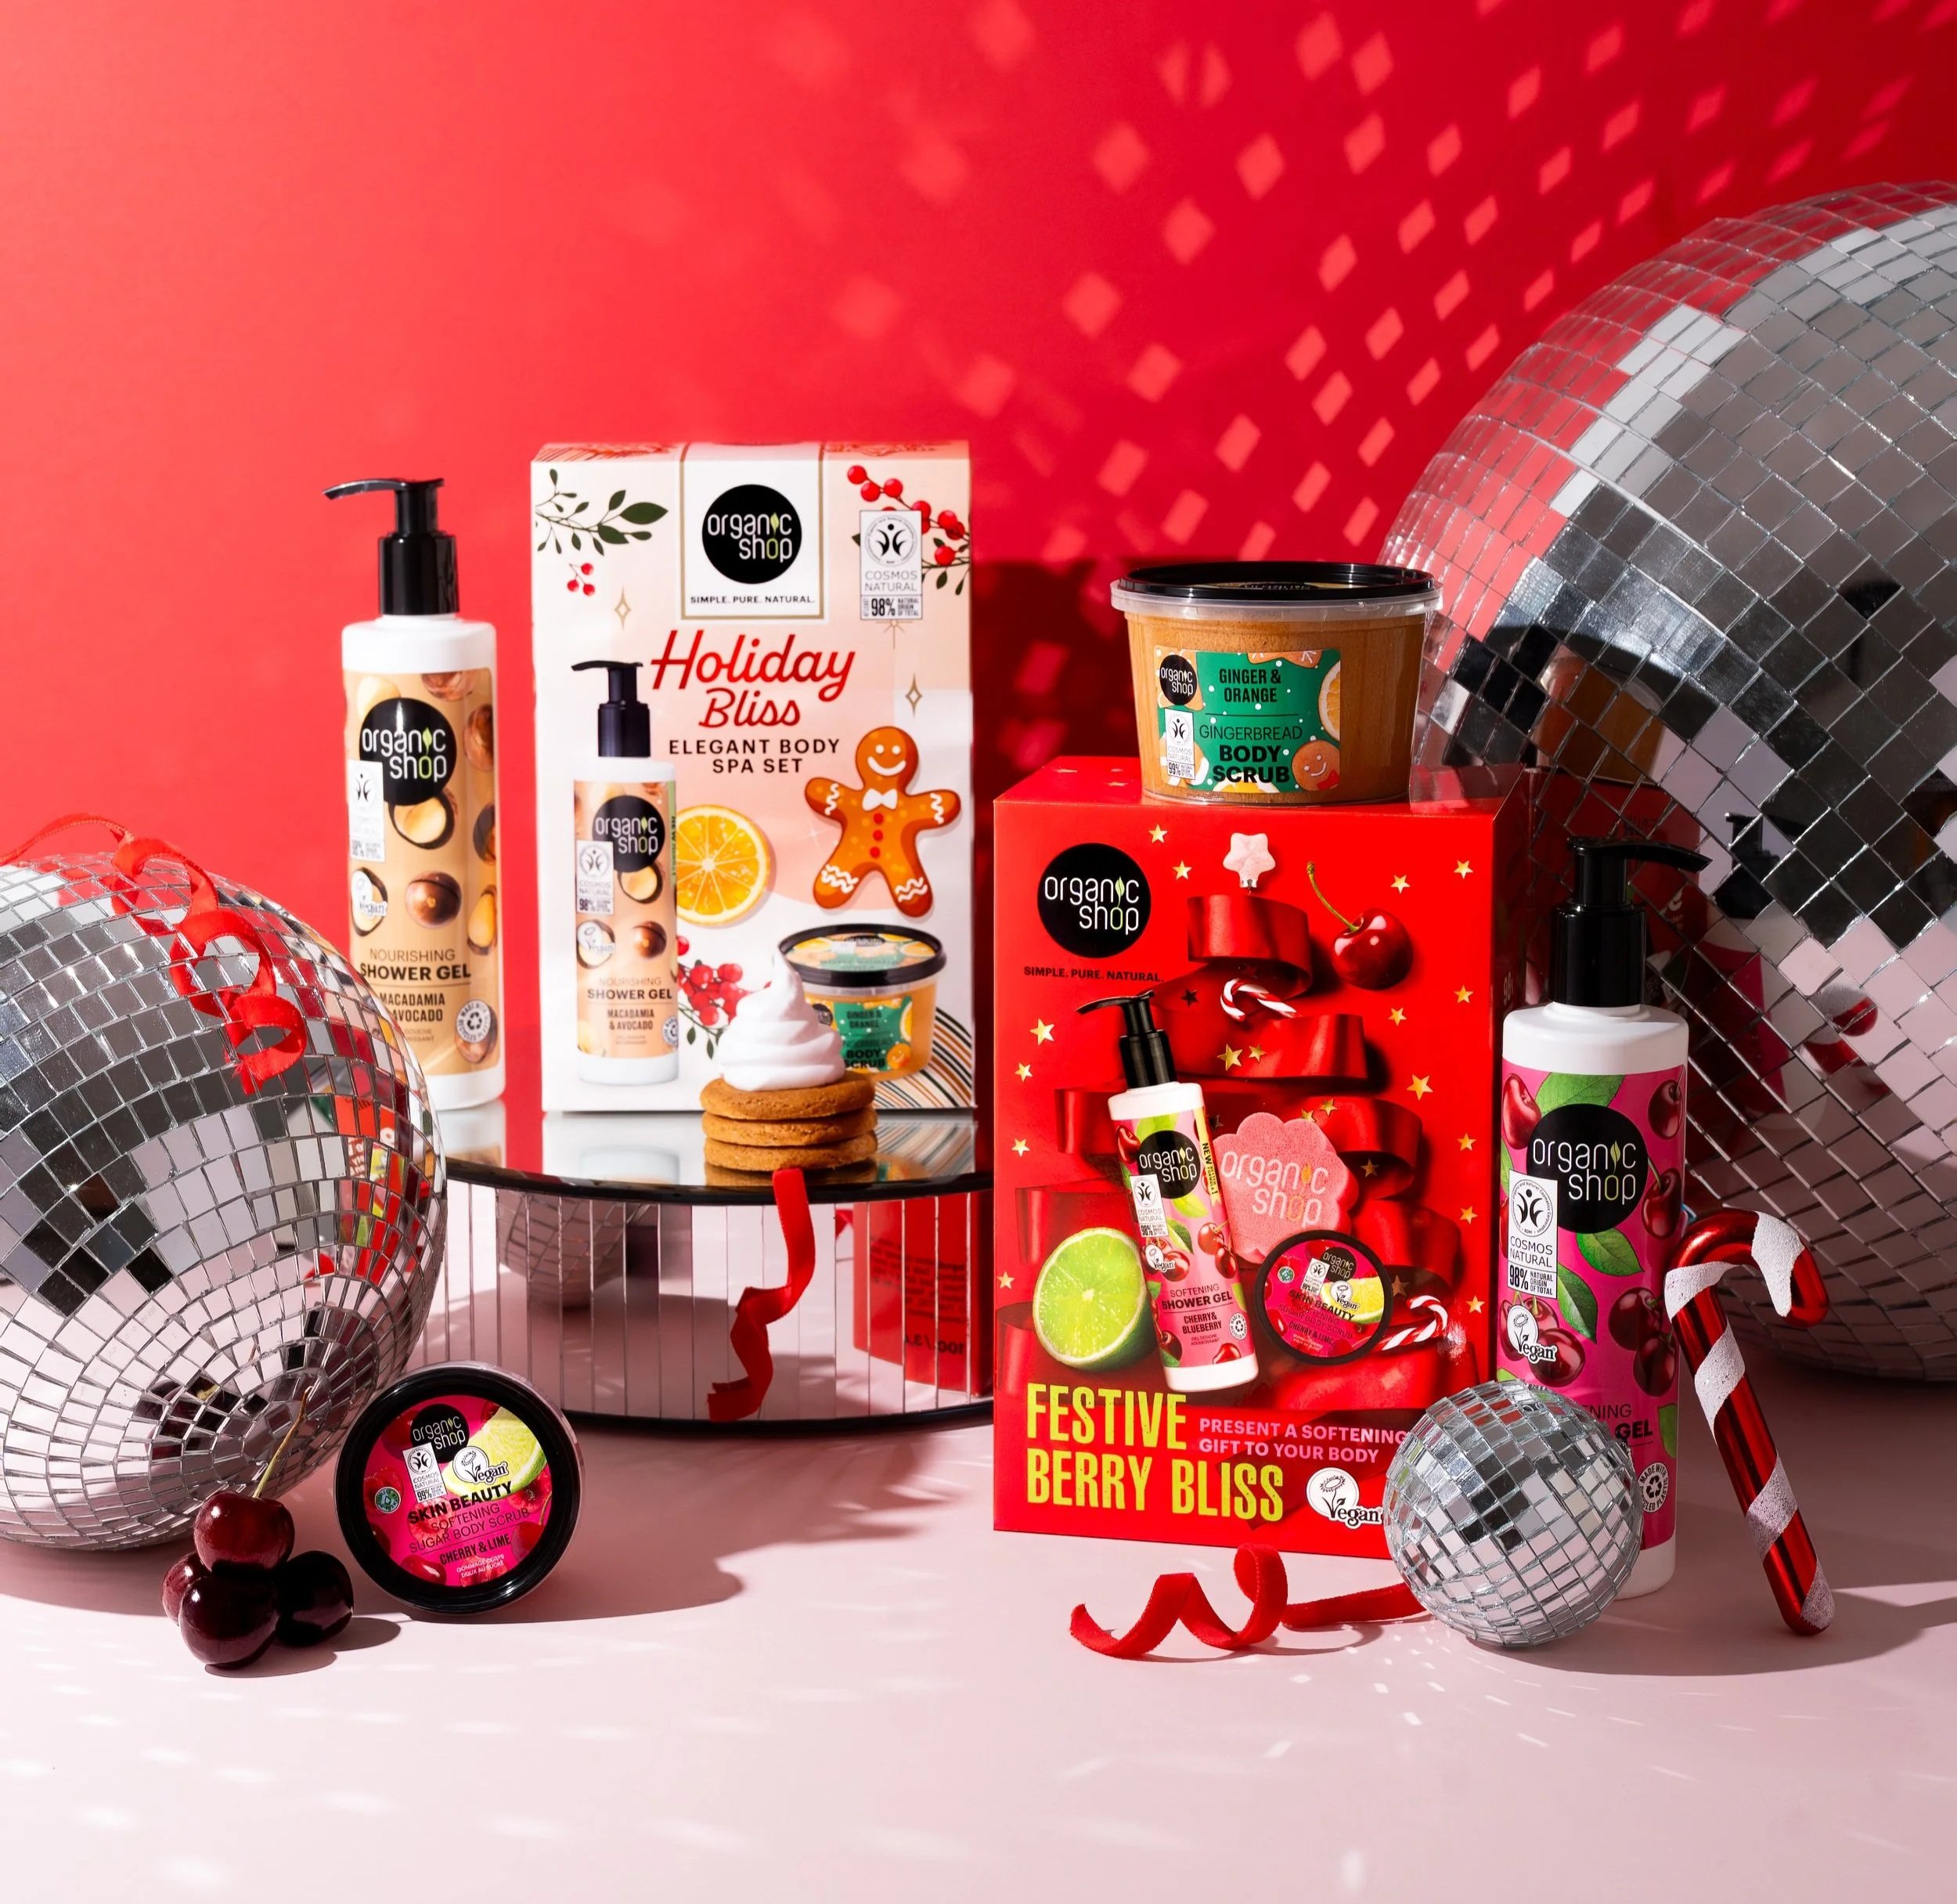
Organic Shop | Styled Group Shot.
Bringing It All Together
Planning product photography can feel overwhelming when you’re building a brand and juggling many different tasks.
This is where working with a photographer who understands styling, storytelling and brand strategy can make the process much easier.
At Rebel Black Studio, I work with founders and purpose-led brands to plan product shoots from the ground up — helping define the visual direction, styling scenes and creating a clear shot list so the final imagery works across your website, social media and marketing.
When the planning is intentional, the photography becomes much more than just images — it becomes a visual story that supports your brand.
If you're preparing to launch a product or refresh your visuals, you can explore my Product Photography work here.
Preparing your products properly before a shoot will help ensure the final images feel polished, aligned with your brand and ready to support your marketing.
A little preparation from packaging checks to planning a shot list can transform the outcome of your photography and help your products stand out online.